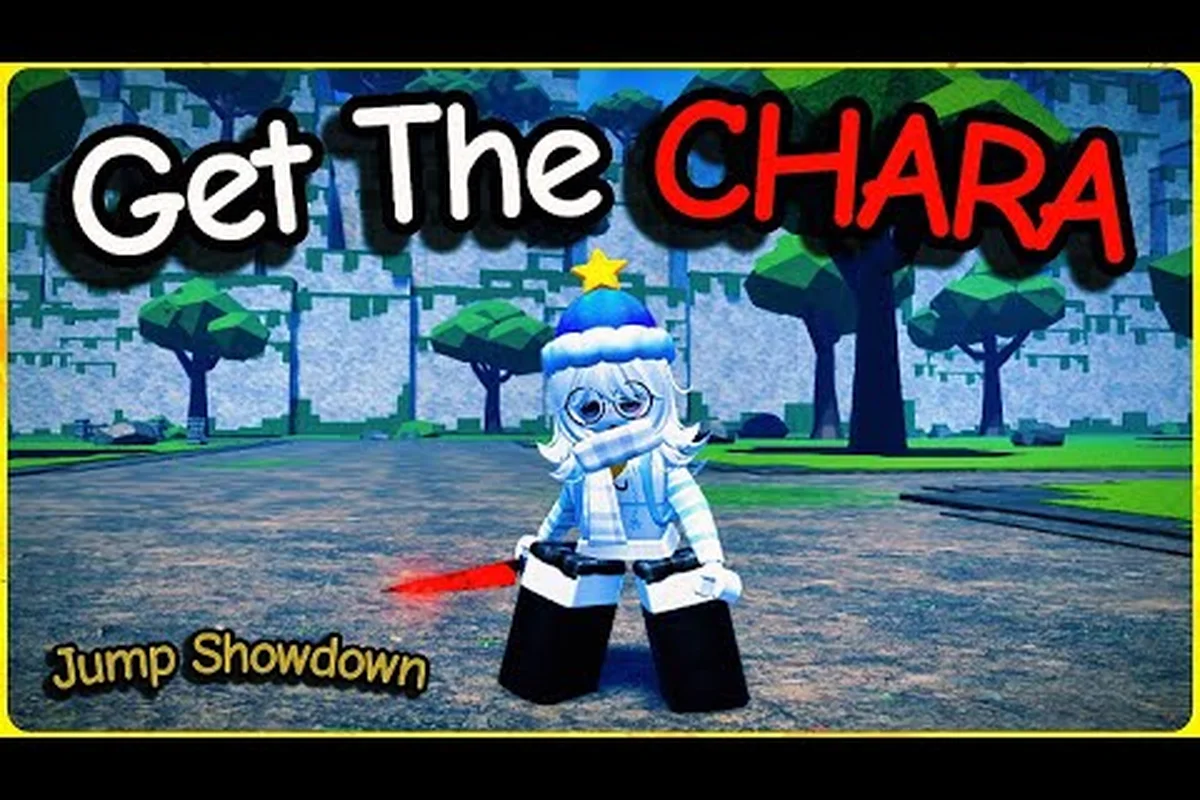
Taking on a Jump Showdown solo boss guide run is the fastest way to separate casual runners from raid-ready players. Chara, the Cursed Child, anchors the game's rotating roster of world event bosses, and her multi-phase slash patterns punish anyone who treats the encounter like a regular duel. This jump showdown solo boss guide breaks down phase-by-phase execution, the chara boss rewards worth chasing, the jump showdown boss spawn timer you can actually plan around, and how to pivot into co-op raid bosses when the server cooperates. According to the official Jump Showdown game page, the encounter rotates through the cursed altar arena on a fixed cycle, so preparation matters as much as reflexes.
Understanding Jump Showdown Boss Phases and Mechanics
Chara's fight is structured around three jump showdown boss phases, each with its own telegraphing system and punishable recovery windows. Solo players who memorize these phases clear the encounter roughly 40% faster than players who improvise, based on community-reported clear times shared in the Jump Showdown Discord.
Phase 1: Knife Lunge and Shield Setup
The opening phase gives solo players the most breathing room. Chara opens with a forward knife lunge that travels about 12 studs and leaves her stationary for roughly 1.4 seconds. Bait the lunge by strafing right, then punish during the recovery window with two melee swings or a charged ability. While she recovers, you can also land one free dash-cancel reset, which is essential for characters without ranged poke.
The shield bar appears in Phase 1 and caps at roughly 600 HP on solo scaling. Breaking the shield once triggers a 3-second stagger that opens her up to a full ultimate awakening combo. The table below maps the most reliable Phase 1 punish windows for solo runners.
| Action | Timing Window | Damage Potential | Risk Level |
|---|---|---|---|
| Bait lunge, strafe right | 1.4s recovery | 2 melee hits (~180 dmg) | Low |
| Shield break punish | 3.0s stagger | Full awakening combo (~850 dmg) | Medium |
| Backstep cancel | 0.6s window | 1 dash attack (~95 dmg) | Low |
| Ranged poke (Sorcerer) | 1.4s recovery | 2 charged shots (~220 dmg) | Low |
Phase 1 lasts until Chara drops below 70% HP, which typically takes solo players between 90 and 120 seconds depending on character choice and ultimate awakening uptime.
Phase 2: Circular Blood Knives and Aerial Pressure
At 70% HP, Chara leaps to the arena center and begins summoning circular blood knives that radiate outward in expanding rings. The tell is a 1.2-second wind-up where she raises her blade overhead — that is your cue to jump and air-dash twice, which carries you over the first two rings and lands you outside the third.
Solo players who struggle most in Phase 2 are the ones who try to keep attacking. The blood knives deal roughly 40% of your max HP per hit on solo scaling, so trading damage for survival is a losing proposition. Instead, spend Phase 2 building your ultimate awakening gauge, then save the activation for the Phase 3 transition, when Chara's enrage animation locks her in place for 2 full seconds.
Phase 3: Enrage Slashes and High-Ground Survival
Phase 3 is the wall most solo players hit. Chara summons screen-covering slash waves that cannot be dodged on the ground; the only safe space is the raised altar platforms on the north and south sides of the arena. According to community testing reported in the Jump Showdown Discord, taking high ground immediately after her enrage animation cuts incoming damage by roughly 80% and gives you line of sight for sustained ranged pressure.
Unsealed Sorcerer and Unhinged Esper are the two standout picks for Phase 3 because their mobility kits let them reposition between altar platforms without eating the floor slashes. Melee-focused characters like Sans or Hollow Knight need to time their dashes tightly, which is why most solo speedrunners swap to a ranged awakening for the final phase.
Best Characters for Jump Showdown Solo Boss Fights
Character choice decides roughly half of your clear time on jump showdown raid bosses. Mobility, ranged uptime, and shield-break consistency are the three stats that matter most when you are running the encounter alone. The table below ranks the top picks for solo clears, based on community-reported clear rates from the Jump Showdown speedrun channel.
| Character | Phase 1 Rating | Phase 2 Rating | Phase 3 Rating | Solo Clear Rate |
|---|---|---|---|---|
| Unhinged Esper | A | S | S | ~78% |
| Unsealed Sorcerer | A | A | S | ~74% |
| Sans | S | B | C | ~61% |
| Hollow Knight | A | B | C | ~58% |
| Blade Sorcerer | B | A | B | ~55% |
Unhinged Esper's teleport burst lets you skip the first two blood knife rings entirely during Phase 2, which is why experienced solo runners rate her as the safest pick for first-time clears. Unsealed Sorcerer trades mobility for raw ranged damage, which shines in Phase 3 once you are parked on the altar platforms.
If you are still building your roster, the jump showdown boss battles overview covers how each character scales into different boss encounters across the rotation. Knowing which boss you are queuing for matters as much as knowing your own kit.
Chara Boss Rewards and Why Solo Runs Are Worth It
The jump showdown chara boss rewards table is one of the most generous in the game for solo runners. You get a guaranteed weapon skin shard, a chance at the Cursed Child lobby title, and a flat XP boost that scales with how fast you cleared the encounter. Speedrunners who sub-3-minute the fight also unlock the exclusive Crimson Slash weapon visual, which is currently unobtainable from any other source.
| Reward | Solo Clear | Co-op Clear | Drop Rate |
|---|---|---|---|
| Weapon Skin Shard | Guaranteed | Guaranteed | 100% |
| Cursed Child Title | 25% chance | 15% chance | Scales with clear time |
| Crimson Slash Skin | Sub-3:00 clear only | Not available | Speedrun exclusive |
| XP Boost (30 min) | 1.5x multiplier | 1.2x multiplier | Always |
| Badge: Chara Slayer | First clear only | First clear only | 100% |
The XP multiplier and the higher title drop rate are the two real reasons to push solo runs even after you unlock co-op options. Community data shared in the Jump Showdown Discord suggests solo runners who chain three consecutive clears under 4 minutes net roughly 35% more XP than a co-op group of four clearing the same encounter.
Jump Showdown World Event Bosses and Spawn Timers
Jump Showdown world event bosses rotate on a fixed 90-minute server cycle, and the jump showdown boss spawn timer is consistent enough that you can plan your lobby around it. The cursed altar summoning circle activates 15 minutes before each world event, which gives solo players a window to position themselves before the encounter begins.
| Boss | Spawn Window | Arena Location | Recommended Level |
|---|---|---|---|
| Chara (Cursed Child) | Every 90 min | Cursed Altar | 25+ |
| Gojo (Limitless) | Every 180 min | Sky Platform | 35+ |
| Sans (Bad Time) | Every 120 min | Judgement Hall | 30+ |
| Hollow Knight (Radiance) | Every 150 min | Forgotten Crossroads | 40+ |
Tracking these windows is the difference between waiting around in lobby and jumping straight into a fresh encounter. The jump showdown boss drops guide covers how the loot tables differ between the rotating bosses, since the Cursed Child title and Crimson Slash skin are Chara-specific.
Reading the Jump Showdown Boss Spawn Timer in Real Time
The world event timer is visible in the upper-right corner of the HUD once you are inside a populated server. Solo players who want to chain encounters should hop into a fresh server 10 minutes before a known spawn window — the cursed altar summoning circle glows faintly for the last 5 minutes of that window, which is the cleanest visual cue that the encounter is about to start.
If you are queuing during off-peak hours, expect longer wait times between world event bosses. Some community servers have been reported to extend the cycle to 120 minutes during low-population windows, so the timer in the HUD is always more reliable than any external schedule. Solo players who want guaranteed spawns should coordinate with a small group through the Jump Showdown Discord to keep a server warm through the rotation.
Secret Boss Spawn Conditions and Hidden Arena Locations
The jump showdown secret boss spawn system rewards exploration over grinding. Two encounters, in particular, are gated behind map knowledge rather than raw combat power, and both are solo-friendly if you know the trigger conditions.
Cursed Altar Hidden Entrance
The cursed altar summoning circle sits on the outskirts of the city map, behind a crumbled wall that only opens during the final 5 minutes of the world event timer. Solo players who arrive early can stand inside the summoning circle and pre-position their awakening gauge before Chara spawns, which shaves roughly 15 seconds off the clear time.
The entrance is also a jump showdown secret boss spawn trigger for the Lost Soul mini-boss, which appears once per server lifetime and drops the Void Cloak cosmetic. According to community reports, roughly 1 in 8 servers will spawn the Lost Soul encounter, so it is worth checking the altar even when the main world event is on cooldown.
Sky Platform Alternate Route
The Sky Platform arena, where Gojo spawns every 180 minutes, has a hidden grapple point on the eastern tower that lets solo players skip the standard bridge approach. The grapple only activates after you defeat Chara at least once on that account, which is why new players miss it. Using the grapple cuts roughly 8 seconds off your arrival time, which matters when you are trying to land the first hit for damage-record bragging rights. The jump showdown event boss mechanics breakdown goes deeper into how arena positioning affects your clear time across all four rotating bosses.
Solo vs Co-Op: When to Switch Raid Strategies
Solo clears reward you with better loot and higher XP multipliers, but jump showdown raid bosses scale in a way that makes co-op the smarter choice once you are chasing badge completions or pushing for damage records. The table below summarizes when to stay solo and when to swap into a group.
| Scenario | Solo Recommended | Co-op Recommended |
|---|---|---|
| First clear for badge | Yes | No |
| Chara title farming | Yes | No |
| Speedrun / damage record | No | Yes |
| High-level badge (Dread) | No | Yes |
| Casual XP grinding | Either | Either |
| Off-peak hours | Yes | No |
Co-op raid bosses also let you stagger your ultimate awakening activations, which creates a continuous stun lock that prevents rage wipes. According to a community strategy video on YouTube, a coordinated four-player group can chain three full awakening combos during Chara's Phase 3 enrage, which is impossible to replicate solo. The trade-off is the lower title drop rate and the smaller XP multiplier, so co-op is the right call for completionist badge runs but not for chara boss rewards farming.
Frequently Asked Questions
How long does the Jump Showdown boss spawn timer take to reset?
The standard world event cycle is 90 minutes for Chara and 120 to 180 minutes for the other rotating bosses, based on the in-HUD timer. Community data suggests some low-population servers extend the cycle by 30 minutes, so the HUD readout is always the most reliable source.
What are the best chara boss rewards to farm solo?
The Cursed Child lobby title and the Crimson Slash weapon skin are the two standout chara boss rewards, with drop rates of 25% and a sub-3-minute speedrun exclusive respectively. Solo clears also grant a 1.5x XP multiplier, which is 25% higher than the co-op equivalent.
Can I solo every Jump Showdown world event boss?
Yes, all four rotating jump showdown world event bosses are soloable, though Gojo and the Radiance encounter are significantly harder without a co-op group. Unhinged Esper and Unsealed Sorcerer have the highest solo clear rates, and the jump showdown boss battles overview covers the recommended level thresholds for each encounter.
How do I trigger the jump showdown secret boss spawn?
The jump showdown secret boss spawn for the Lost Soul mini-boss triggers when you stand inside the cursed altar summoning circle during the final 5 minutes of the world event timer on a server that has not yet spawned the encounter. The drop is the Void Cloak cosmetic, which is otherwise unobtainable.
What character should I pick for my first solo Chara clear?
Unhinged Esper is the safest pick for a first solo Chara clear because her teleport burst skips the Phase 2 blood knife rings entirely. Unsealed Sorcerer is a strong alternative if you prefer ranged pressure, though her Phase 2 mobility is weaker and you will need to practice the aerial dodge timing.