
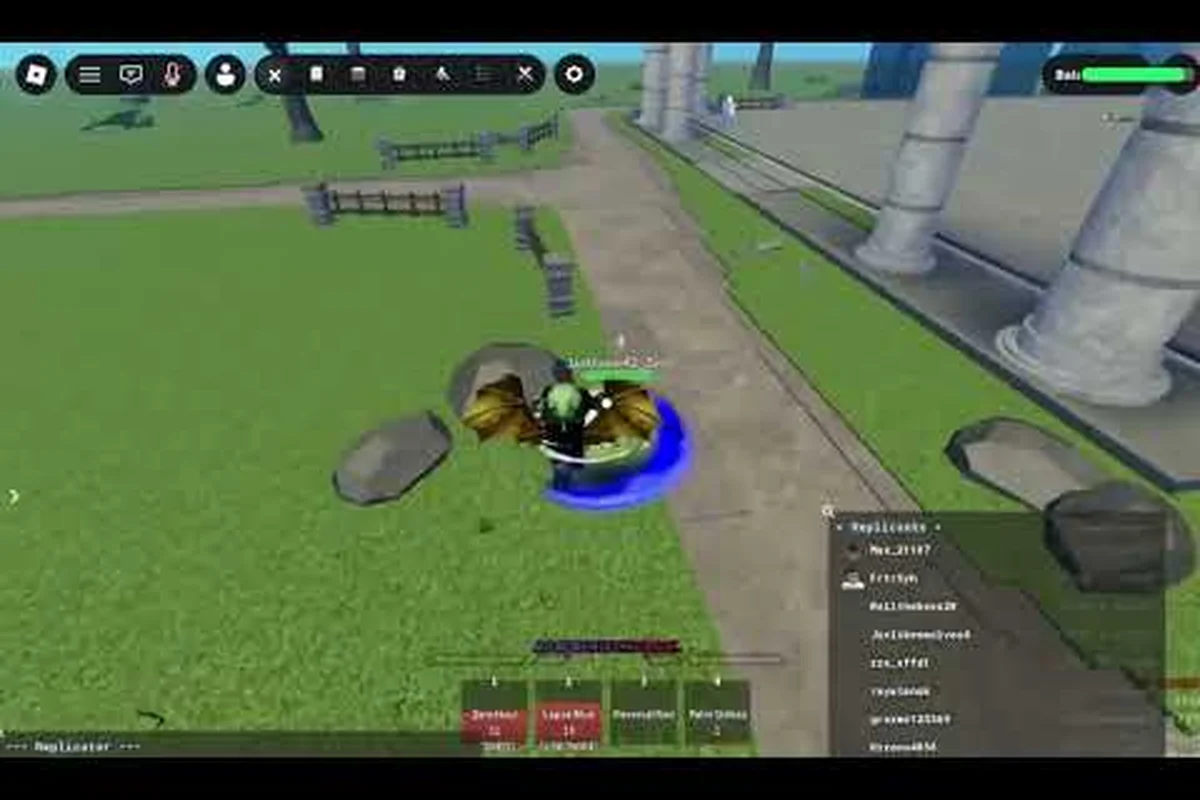
Jump Showdown parry timing is the single most decisive defensive skill in the game, because the F-block window rewards a fraction-of-a-second read and then hands you a 1.5-second stun on the attacker. A clean parry converts panic defense into a free punish starter, which is why ranked lobbies in Jump Showdown on Roblox devolve into F-tap duels at mid-range. Learn the frames, the follow-up routes, and the downslams that close out a round before the enemy even recovers.
Understanding the F Parry Window in Jump Showdown
The F key triggers a parry stance that lasts roughly 6 active frames at the start of its startup, and any incoming M1, ability, or dash attack absorbed during that window triggers a counter-hit state. The defender sees a brief golden flash; the attacker is locked in a 1.5-second stun with no access to ragdoll cancel, dash, or Awakening escape. This is the foundation of jump showdown parry timing: every other defensive layer — blocks, dodges, guard breaks — exists to either set up or extend that initial frame-perfect read.
How the Parry State Differs From a Plain Block
A normal block (holding F) reduces incoming damage by roughly 60% but leaves the defender in blockstun, unable to act for about 12-14 frames depending on the move. A successful parry skips blockstun entirely and gives the defender a 1.5-second punish window. That asymmetry is the entire reason competitive players bait strings instead of mashing F.
| Action | Input | Active Frames | Reward on Hit | Punish Window |
|---|---|---|---|---|
| Parry | Tap F | ~6 (early window) | 1.5s stun, free counter | Full combo routes |
| Plain Block | Hold F | Continuous | 60% damage reduction | Blockstun (12-14f) |
| Guard Break | Dash into Blocked Hit | N/A | Through-block punish | ~8f gap |
| Ragdoll Cancel | R (post-launch) | 12f recovery | Escapes juggle state | 15-20s cooldown |
Frame Data Every Defender Should Memorize
According to community testing on the Jump Showdown Discord competitive channel, the average M1 string follows a tight rhythm: hit 1, 4-frame gap, hit 2, 5-frame gap, hit 3, 6-frame gap. The third hit is the dash-cancel frame where many opponents reset their string, but it is also the most telegraphed moment. Tap-parrying on hit 1 is the safest punish; parrying on hit 3 catches the dash and converts it into a full stagger punish.
Mapping the Block and Counter Routes
Once the parry lands, the next 1.5 seconds determine whether you win the round or just trade momentum. The most reliable punish starter is a single M1 into a side dash, which keeps the opponent in stagger long enough to confirm a second M1 string. From there, you have three primary extensions: an uppercut launch, a downslam reset, or a wall carry into a wall combo that scales into a 60%+ health chunk.
Standard Parry Confirm Routes
The bread-and-butter sequence most top-ranked players run after a successful F parry is engineered around jump showdown parry timing windows of roughly 14 to 18 frames, where the smallest miscalculation breaks the entire juggle chain. Because the parry leaves the opponent in a brief grounded hitstun before the ragdoll flag activates, confirmers prioritize a single M1x1 tap to verify the punish is still active before committing to the uppercut launch. Reading the opponent's white-flash recovery animation is what separates a consistent parry confirm from a whiffed gamble, especially against faster characters who can cancel into a dodge on frame 15 or earlier.
-
M1x1 (single tap) — confirms the parry without overcommitting
-
Side dash (Q) — repositions for a cross-up M1
-
M1x2 — second two-hit string catches the recovery
-
Uppercut (1 or 2 key) — launches the airborne target into a juggle
-
Downslam (3 or 4 key) — resets into a grounded string or a wall carry
This sequence works because each step respects the opponent's remaining hitstun frames. Skipping the initial M1x1 and going straight to uppercut whiffs against faster ragdoll-cancel characters, which is why disciplined parry confirms start with a single hit to anchor the punish.
Counter Routes for Each Stun Type
Not every parry produces the same follow-up. The reward scales with the move you parried and the angle you held when you parried it. Mid-screen parries favor downslam extensions; corner parries favor uppercut juggles; wall-side parries favor wall carry into wall combo strings.
| Parry Scenario | Best Follow-Up | Damage Ceiling | Risk |
|---|---|---|---|
| Mid-screen, M1 parry | M1x1 → Dash → M1x2 → Downslam | ~35% | Low — safe on whiff |
| Corner, M1 parry | M1x1 → Uppercut → Air string | ~50% | Medium — needs Awakening awareness |
| Wall side, parry into carry | M1x3 → Wall splat → Downslam | ~60%+ | High — requires correct spacing |
| Ability parry (projectile) | Dash forward → M1x3 | ~40% | Medium — projectile timing varies |
Why the Downslam Beats the Uppercut in Most Openings
A downslam reset forces the opponent into a hard-knockdown state that bypasses the standard damage scaling rules, meaning the next grounded string deals unscaled damage. An uppercut launches the opponent into the air, but airborne combos scale down quickly and give the target more opportunities to spend their Awakening on a frame-perfect escape. In ranked play, players report that downslam confirms lead to more consistent round wins because they cut off Awakening activations entirely.
Practicing Parry Timing Against Testing Dummies
Jump Showdown ships with a private server mode and a testing dummy that returns 100% of incoming damage, which makes it the ideal sandbox for grinding parry timing. Set the dummy to "Aggressive M1 spam," then run the following drill set for 15 minutes per session.
Drill 1: Reaction Parry
-
Stand at mid-range, no inputs
-
Wait for the dummy's M1 to start
-
Tap F the moment you see the swing startup
-
Goal: 7 out of 10 successful parries in a row
Drill 2: Delayed Parry (Anti-Bait)
-
Same setup, but count "one-Mississippi" after the swing begins
-
Tap F slightly late, catching the hit on the second active frame
-
Goal: 5 out of 10 — late parries are harder but more reliable against real players who delay their strings
Drill 3: Dash-into-Parry
-
Hold forward, dash (Q) into the dummy's range
-
Tap F immediately as the dash ends to catch the counter-hit
-
Goal: 5 out of 10 — this is the bread-and-butter opening parry in real matches
Veteran Jump Showdown parry players on the Jump Showdown community Discord recommend running these three drills — including the dash-into-parry opener — on loop for at least 30 minutes before queuing for ranked, because the uppercut-counter and downslam reactive-parry timings decay within 48 hours of inactivity, and only an extended muscle-memory refresh restores the 3-frame input window needed to consistently catch counter-hits on reaction rather than prediction.
Countering Aggressive Rushdown With the F Parry
The metagame in Jump Showdown rewards aggressive openings because the 4-hit M1 sequence deals 22% of an opponent's health and gives the attacker frame advantage on the final hit. Defenders who cannot parry this sequence lose the round within two strings. The F parry flips that math: one read beats 22% and converts into 35-60% of the defender's punish, depending on the wall position and the Awakening state of both players.
Reading the Opponent's M1 Rhythm
Every character in Jump Showdown has a slightly different M1 cadence, but the gaps between hits stay in the 4-6 frame range. The tell that most rushdown players give away is their dash timing before the first M1. If the opponent dashes into your face, they are committing to the string; if they dash-cancel after the second hit, they are resetting; if they stop dashing entirely, they are baiting a parry. Tap-parrying on the first hit covers both the dash-in opener and the reset, which is why mid-screen parry confirms favor the single-M1 anchor.
Punishing the Awakening Escape
Once the parry converts into a downslam, the opponent will often attempt to spend their Awakening (G) to escape the grounded string. Awakening grants a brief invulnerability window plus a recovery burst, but it has a 20-second cooldown at full health and a 15-second cooldown at low health. If you bait the Awakening with a delayed downslam follow-up, you get a free 1.5-second parry window on the Awakening recovery, which compounds into a near-touch-of-death sequence. Community testing confirms that disciplined Awakening baiting is the single largest source of round wins in the upper ranks of the ladder.
Wall Splat Routes After a Successful Parry
A successful parry into a wall splat is the single most damaging punish window in Jump Showdown, because the opponent cannot input any defensive action during the 12-frame stun before the splat registers. Wall-position awareness matters so much that top players deliberately back-dash after a parry rather than pressing M1 immediately, trading roughly 0.2 seconds of combo time to force the bounce closer to a corner where the upslam-to-downslam reset window opens. This corner-only reset is the difference between a 60% route and a full kill confirm on heavier Awakening characters, which is why raw parry timing is only the first skill every serious player builds.
- Parry → M1x1 → Side dash → M1x2 → Forward dash → M1x3 → Wall splat → Upslam → Downslam reset
This sequence deals roughly 60% on a standard character and up to 75% on slower Awakening users, which is why wall-position awareness is the second skill every top player develops after raw parry timing. For deeper coverage of wall routes, the Jump Showdown ground bounce combo guide breaks down the wall splat angles and the upslam spacing that converts a parry into a round-ending sequence.
Uppercut Tutorial: When to Launch and When to Reset
The uppercut is the primary launcher in Jump Showdown, and it pairs naturally with parry confirms because the post-parry stun leaves the target airborne for exactly the right number of frames. The two main uppercut follow-up routes are the air juggle (continued M1 strings while the target is airborne) and the upslam reset (uppercut into a grounded downslam into another string).
Air Juggle vs. Upslam Reset
The air juggle is flashy and deals 45-50% in a clean string, but it leaves the attacker vulnerable to Awakening escapes on the way down. The upslam reset is the safer option because it grounds the target and gives the attacker a fresh, unscaled string opportunity. Most competitive players default to the upslam reset in ranked and only commit to the air juggle when they have already baited the opponent's Awakening earlier in the round.
| Follow-Up | Damage Ceiling | Awakening Risk | Best Use Case |
|---|---|---|---|
| Air juggle (M1x3 into Upslam) | ~50% | High — Awakening escapes mid-air | Already used Awakening |
| Upslam reset into Downslam | ~40% | Low — forces grounded Awakening | Standard parry confirm |
| Air juggle into Wall splat | ~65% | Medium — needs corner position | Wall-cornered opponent |
| Upslam reset into Wall carry | ~60% | Low | Spacing-confirmed wall route |
Training the Uppercut Timing
The uppercut fires on a 9-frame startup, which means a raw uppercut after a parry can whiff if the opponent drifted backward during the stun. Tap the uppercut slightly delayed — about 4-6 frames into the post-parry window — to guarantee the hit. Community players who main the Jump Showdown uppercut tutorial route recommend practicing the uppercut timing on the testing dummy set to "Ragdolled" so the dummy does not drift out of range during your startup.
Common Mistakes That Break Parry Timing
Even experienced defenders develop habits that poison their parry timing in Jump Showdown's neutral game. These habits usually form under pressure — a player who eats one clean M1 decides to "just hold F" next round, and a successful parry convinces them to pre-tap before the swing animation even resolves. The most common are:
-
Mashing F: holding the F key in panic triggers the parry on the first frame and then drops it into a plain block, wasting the active window.
-
Parrying too late: tapping F after the opponent's M1 has already connected counts as a blocked hit, not a parry, and the defender enters blockstun without the 1.5-second punish.
-
Forgetting the dash cancel on the third M1: the third M1 is the most-telegraphed hit in the string, but many players parry hit 1 and then fail to punish because they did not prep the side dash.
-
Predicting instead of reacting: parry timing rewards reads that are based on the opponent's rhythm, not on guessed timing. Players who try to "feel out" the parry window without counting frames will whiff more than they connect.
Recovery Habits That Compete With the Parry
Your ragdoll cancel (R) is your safety net, but it has a 15-20 second cooldown depending on your health state. Spending it early in the round leaves you vulnerable to the second engagement, which is why most ranked players hold the ragdoll cancel until the third engagement of a round. The same rule applies to the Awakening: spend it to escape a parry confirm, and you cannot spend it to escape the next one. Discipline on these two recovery resources is the difference between a player who wins on parry timing and a player who wins on parry timing and round management.
Advanced Parry Drills for Ranked Climbers
Once the basic F parry timing is consistent, the next layer of skill is parrying ability-based attacks — projectiles, guard breaks, and Awakening bursts. These moves have different startup frames and different parry windows, which is why a one-size-fits-all parry timing will fail against experienced players.
Projectile Parry Routes
Projectiles in Jump Showdown are parryable on direct contact, and the parry window is roughly 4 active frames at the start of the F startup. The trick is to hold F slightly before the projectile reaches you, then release. A successful projectile parry stuns the caster for 1.5 seconds, same as an M1 parry, which makes projectile-dependent characters extremely vulnerable to disciplined defenders.
Awakening Parry Routes
The Awakening (G) burst is a 12-frame invulnerability window that most players treat as unparryable. It is not. The Awakening burst can be parried on the last 3 frames of its active window, but only if the defender holds F through the entire invulnerability phase. The reward for an Awakening parry is a 1.5-second stun and a free combo, but the risk is that mistiming the parry leaves the defender in Awakening blockstun with no escape. Reserve this technique for opponents whose Awakening timing you have already read in earlier rounds of the match.
Counter Hit Conversion
The final advanced layer is counter hit conversion — landing a parry and then reading the opponent's recovery option. If the opponent mashes Awakening, parry the Awakening. If the opponent attempts a ragdoll cancel, dash-cancel the second M1 to catch the recovery. If the opponent blocks, reset the string with a side dash and start the parry timing loop again. Counter hit conversion is the skill that separates mid-rank players from the top of the ladder, and it can be practiced on the testing dummy by setting the dummy to "Random Recovery."
Building a Defensive Layer Around the Parry
The F parry is the centerpiece of Jump Showdown defense, but it is not the only tool. A well-built defensive layer reinforces the parry with complementary options that cover the frame windows where a mistimed parry would otherwise eat a downslam or wall combo. By stacking plain blocks, side dashes, ragdoll cancels, and Awakening cooldown tracking around the parry read, defenders can recover from whiffed parries instead of losing stage control outright.
-
Plain blocks to absorb chip damage when the parry window is uncertain
-
Side dashes to escape the corner and reset neutral
-
Ragdoll cancels as a panic button when the parry read fails
-
Awareness of the opponent's Awakening cooldown so you can punish it on the next engagement
Combining these layers with consistent parry timing is the foundation of every top-ranked defensive player, and the broader context of these layered defenses is covered in depth in the Jump Showdown defense guide. Pairing the parry timing drills above with the layered defense framework turns a reactive defender into a proactive one who controls the pace of every engagement.
Final Notes on Parry Mastery
Jump Showdown parry timing rewards repetition more than theory. Spend 15 minutes per session in the testing dummy on Reaction Parry, Delayed Parry, and Dash-into-Parry drills; queue for ranked with a 30-minute warm-up; and review your losses to identify which parry window you keep mistiming. Over the course of a few weeks, the F parry will move from conscious input to background reflex, and your ranked results will follow. The frame-tight F parry, the 1.5-second stun, and the downslam reset into a wall combo are the three pillars of every defensive round win, and once those three pillars click, the rest of the game opens up.
Frequently Asked Questions
What is the exact parry window in Jump Showdown?
The F parry has roughly 6 active frames at the start of its startup. Tap F the moment you see the opponent's M1 startup animation and you have a wide enough window to catch hits 1, 2, and 3 of any standard M1 string. Tap too early and the parry drops into a plain block; tap too late and the hit connects as a blocked hit instead of a parry.
How long does the parry stun last?
A successful jump showdown parry timing read inflicts a 1.5-second stun on the attacker, during which they cannot dash, ragdoll cancel, or use Awakening. This is enough time to confirm an M1x2 into a downslam or an uppercut follow-up, depending on spacing.
What is the best follow-up after a parry?
The most consistent parry confirm is M1x1 into a side dash into M1x2 into a downslam reset. This sequence deals roughly 35% on a standard character and forces the opponent to spend Awakening on the grounded string, which opens up the round-winning Awakening parry on the next engagement.
Can you parry Awakening in Jump Showdown?
Yes, but the window is tight. Awakening has a 12-frame invulnerability burst, and the last 3 frames are parryable. Hold F through the entire Awakening animation rather than tapping; mistiming this read leaves you in Awakening blockstun, so only attempt it when you have already read the opponent's Awakening pattern earlier in the match.
Does downslam damage scale the same as air juggles?
No. According to community data from the Jump Showdown Discord, wall splats and downslam resets bypass standard damage scaling, which is why a clean parry into a downslam reset into a wall carry can deal 60%+ even late in a combo. Air juggles scale down quickly, so most competitive players prefer the upslam reset into a grounded string for consistent damage.