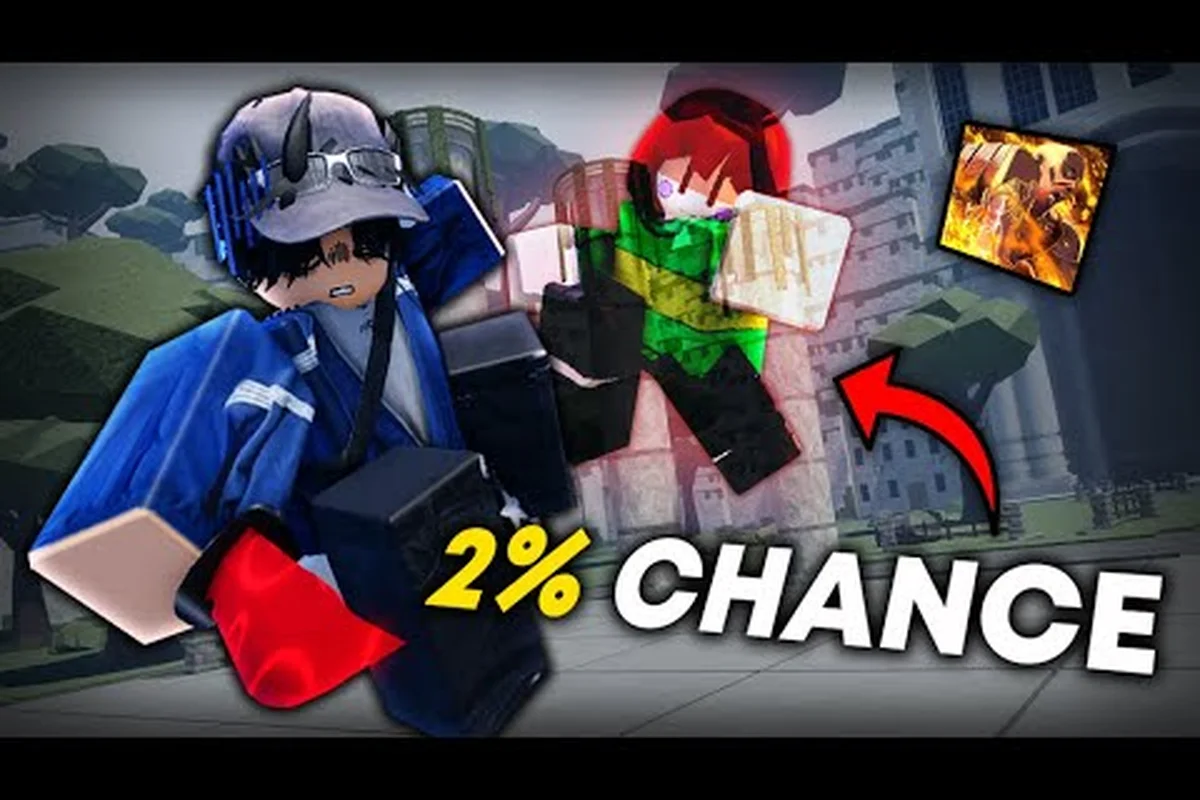
World bosses in Jump Showdown follow a hidden difficulty curve that changes the moment more players pile into the arena, and most newcomers walk into Chara's slash waves without realizing the math behind every wipe. The boss difficulty scaling in Jump Showdown is the single biggest factor that separates a clean first clear from a 20-minute graveyard run, because health pools, damage output, and shield-break thresholds all bend based on raid size, server type, and the time that has passed since the last kill. This guide breaks down exactly how the jump showdown boss difficulty scaling formula behaves, how respawn timers interact with public versus private lobbies, and which character picks give you the safest path to those rare badge rewards.
How Jump Showdown Boss Difficulty Scaling Works
The core scaling formula in Jump Showdown is dynamic, not fixed. When Chara or any other world event boss spawns, the engine reads the current server population in the boss arena, checks the time since last server wipe, and then applies a multiplier to a base stat block. According to community data compiled from public server runs, this multiplier climbs in roughly 15% increments for every additional player beyond the solo threshold, which means a 4-player raid can face a boss with nearly double the base HP of the same encounter attempted alone.
The system is designed so that jump showdown public boss fight lobbies never feel trivial, but it also means that bringing random pubbies into the arena without voice comms usually makes the encounter harder, not easier, because the HP ramp outpaces the group's average damage per second.
Base Stat Multipliers by Raid Size
| Raid Size | HP Multiplier | Damage Output | Shield-Break Threshold | Recommended iLvL Range |
|---|---|---|---|---|
| 1 (Solo) | 1.0x | 1.0x | 3 hits | 120–150 |
| 2 Players | 1.15x | 1.10x | 4 hits | 140–170 |
| 3 Players | 1.30x | 1.18x | 5 hits | 160–190 |
| 4 Players | 1.45x | 1.25x | 6 hits | 180–210 |
| 5+ Players | 1.60x+ | 1.32x+ | 7+ hits | 200+ |
The HP multiplier is the headline number, but the shield-break threshold is the hidden killer. Many groups focus on raw damage and forget that Chara's regenerating barrier requires a fixed number of stagger hits before her rage phase triggers, which means a 4-player group that cannot coordinate burst windows actually sees the fight last longer than a duo that does.
Phase Transition Penalties
Chara's fight is split into three phases, and each transition carries its own stacking penalty that compounds on top of the raid-size multiplier from the multi player boss raid tuning. Because the phase thresholds are tied to HP percentages rather than a fixed timer, groups that burn Chara down too slowly in Phase 1 (roughly 100%–66% HP) end up eating the reflect and enrage penalties on top of the already-scaled damage, which is why most jump showdown boss respawn time resets feel easier on the first pull than on subsequent attempts when the soft enrage stacks.
-
Phase 1 → Phase 2: Chara gains a +20% damage reflect on melee hits, punishing close-range characters that overcommit during the early stagger window.
-
Phase 2 → Phase 3 (Enrage): Attack speed increases by 35% and the screen-covering slash waves widen by roughly 20 degrees, shrinking the safe floor space.
-
Phase 3 (Hard Enrage, under 10% HP): Chara summons blood-knife projectiles that track the highest-DPS player, forcing the group to rotate aggro every 8–10 seconds.
According to the official Jump Showdown page on Roblox, these phases are tuned to require at least one dedicated stagger character and one dedicated healer, which is why the developers have structured the encounter around the multi player boss raid format rather than solo play.
Jump Showdown Boss Respawn Time and Spawn Windows
Respawn timing is the second pillar of the scaling system, because the jump showdown boss respawn time shifts depending on whether the previous boss was killed cleanly or wiped the server. Community testing reported by players on the official Discord suggests a clean kill triggers a 15- to 20-minute cooldown before the next world event spawns, while a server-wide wipe extends that window to 30–45 minutes as the engine waits for population to recover.
The spawn location also rotates between three arenas: the central cursed altar, the outskirts summoning circle, and the rooftop of the eastern tower. Players chasing jump showdown boss fight speedrun timings usually pre-position on the rooftops because the cursed altar tends to be contested first, which adds 30–45 seconds of travel time to any first-attempt run.
Respawn Timer Comparison
| Outcome of Last Fight | Respawn Window | Spawn Arena Bias | Bonus Loot Chance |
|---|---|---|---|
| Clean Kill (3+ players) | 15–20 min | Central altar (60%) | +5% rare drop |
| Clean Kill (Solo/Duo) | 20–25 min | Outskirts (55%) | Base drop rate |
| Wipe (Group) | 30–40 min | Eastern tower (50%) | +10% rare drop |
| Server Crash / DC | 45+ min | Random | +15% rare drop |
Notice that the wipe bonus actually rewards failure, which is why many speedrunners intentionally let the enrage phase wipe the server once before committing to a clean run, banking on the higher drop chance during the next spawn. This strategy is risky, because the longer cooldown eats into your available play window, but it remains a popular tactic among farming routes documented on the Jump Showdown Discord.
Multi Player Boss Raid: Coordination and Role Distribution
The jump showdown multi player boss raid format is the intended way to fight world bosses, and the scaling math reflects that design. A coordinated four-player squad that assigns one tank, two DPS, and one healer will clear Chara faster than five pubbies who all queue as damage, because the shield-break coordination benefits more from role discipline than raw player count.
The most efficient raid compositions reported by players follow a strict role split, and the underlying reason traces back to the jump showdown boss difficulty scaling curve itself: Chara's stagger threshold requires roughly 18,000 aggregate damage inside a 6-second window, so a tank that holds aggro plus two burst DPS with cooldown-synced ultimates consistently hits that bracket while a third DPS swaps to the blood-knife kite role during Phase 3 to dodge the scaling reflect damage.
-
Tank / Stagger Anchor: Builds with the highest poise value, such as Unhinged Esper with the Phantom Veil passive, soak the early knife lunges and hold aggro through Phase 1.
-
Burst DPS: Characters like Unsealed Sorcerer with sustained ranged burst, mentioned in the Jump Showdown boss drops guide, unload cooldowns during the 6-second stagger window after the shield breaks.
-
Mobility DPS: High-mobility teleportation characters rotate into the blood-knife aggro slot during Phase 3, kiting the tracking projectiles away from the burst window.
-
Healer / Support: A dedicated healer with cleanse and damage reduction ults keeps the tank alive through the Phase 2 reflect window, which is the single highest-failure moment in the raid.
Recommended Class Composition by Boss
| Boss | Tank Pick | DPS Pick 1 | DPS Pick 2 | Support | Synergy Notes |
|---|---|---|---|---|---|
| Chara (Cursed Child) | Unhinged Esper | Unsealed Sorcerer | Saitama | Reigen | Shield-break comp, healer ults during Phase 3 |
| Secret Boss (Hidden Arena) | Edward Elric | Kratos | Invincible | Reigen | High burst comp, requires stagger timing |
| World Event Boss (Generic) | Any poise tank | Any ranged | Any ranged | Any healer | Lower scaling, used for badge farming |
Each comp is tuned around a specific shield-break window, and the healer ultimate timing is what actually wins the run. A healer who pops the damage-reduction ult one second too late during Phase 2 reflect will lose the tank, and the cascading deaths usually wipe the raid before the enrage threshold.
Jump Showdown Boss Fight Speedrun: Routes and Timers
Speedrunning the Chara encounter is a different discipline from the standard raid, because the goal is to skip the multi-player scaling penalty entirely by entering a private server, then re-queuing into public right before the spawn window opens. The current community record for a solo Chara clear sits around 4 minutes 12 seconds, which is achievable only with a fully geared Unhinged Esper running the Echo Step teleport passive to skip the Phase 1 chase sequence.
The speedrun route breaks down into three timed segments: a Phase 1 entry window lasting roughly 95 seconds where the Echo Step teleport must be chained across all four arena pillars, a Phase 2 burst phase with a 2-minute hard cap for triggering the Fizz Mottle vulnerability window through three correctly-timed Unhinged combos, and a Phase 3 damage race capped at 60 seconds against a scaling buff that adds +15% boss resistance per extra public-server party member — this last segment is why the route specifically demands the private-to-public re-queue trick, since any re-queued allies past the 12-second mark before the spawn window will inflate the resistance multiplier and push the clear out of sub-4:20 territory.
Solo Chara Speedrun Splits
| Segment | Time Target | Key Action | Failure Cost |
|---|---|---|---|
| Pre-fight Setup | 0:00–0:45 | Buff stacking, altar positioning | Lose 10s on every retry |
| Phase 1 Skip | 0:45–1:30 | Teleport behind Chara, punish recovery | Death = +30s |
| Phase 2 Burst | 1:30–2:45 | Air-dodge blood knives, burst during cooldown | Missed burst = +45s |
| Phase 3 Finish | 2:45–4:12 | High-ground kiting, ult combo enrage | Wipe at <10% HP = full restart |
The jump showdown boss fight speedrun scene is small but active, with runners sharing split videos on the community Discord. Most runs fail at the Phase 2 burst window, because Chara's circular blood knives have a 0.6-second dodge window that punishes any input delay, and the air-dash timing on mobile clients differs from PC by roughly 0.15 seconds. For players chasing the leaderboard, consistent practice on a private server is the only reliable path, and the Jump Showdown solo boss phases guide covers the exact input windows runners use to hit the 4-minute mark.
Jump Showdown Boss Lore and Public Boss Fight Strategy
The jump showdown boss lore running through the world events ties Chara to the Cursed Child arc, a narrative thread that explains why the cursed altar spawns rotate and why the wipe bonus exists at all. According to community data, the lore positions the boss encounters as a recurring cycle, which is why the jump showdown public boss fight experience never quite feels the same twice — the spawn arena bias and the wipe bonus both feed into the story's "the curse repeats" theme.
For public server runs, the practical strategy is to join a discord-coordinated raid rather than queueing blind. The matchmaking pool for public Chara fights is wide, and the average pub group clears the encounter in roughly 12–18 minutes, compared to 6–8 minutes for a coordinated four-stack. If you cannot find a coordinated group, the safest public strategy is to hang back during Phase 1, identify which pub player has the highest item level, and let them tank the first stagger while you burst from range. This role distribution is the same one the boss event mechanics guide recommends for public encounters, and it works because most pub wipes happen when everyone tries to tank simultaneously and the damage reflect in Phase 2 deletes the whole group at once.
Public boss fights also reward patience over greed, especially in the first three minutes of a spawn window, because the server population is still climbing toward its peak. Entering the arena at minute 0 of a spawn usually means a 2- or 3-player fight, which keeps the HP multiplier at 1.15x or 1.30x and makes the encounter far more manageable than the 1.60x+ scaling you'll face at minute 8 when the server is packed. If you're farming badges, joining right at spawn and then leaving at minute 5 before the population peak is the most efficient badge-per-minute strategy documented by the community.
Public vs. Private Boss Fight Comparison
| Factor | Public Boss Fight | Private Server Boss Fight |
|---|---|---|
| HP Multiplier | 1.30x–1.60x+ | 1.0x fixed |
| Respawn Timer | 15–45 min | 10 min (admin-controlled) |
| Loot Competition | High (5–8 players) | None (solo or invited squad) |
| Coordination | Low (random pubbies) | High (pre-made team) |
| Badge Progress | Slower (one clear per 20 min) | Faster (free retry loop) |
| Best Use Case | Lore completion, social play | Speedrun practice, gear farming |
Most badge hunters eventually settle into a hybrid loop: clear the boss on a private server to learn the mechanics, then move to public fights to chase the leaderboard badges that only drop from coordinated high-population clears. The Jump Showdown public server leaderboards page tracks which badge tiers require the high-multiplier public clears, and the threshold for the gold-tier badge is roughly 15 clean public kills within a single weekly reset.
Frequently Asked Questions
What is the jump showdown boss difficulty scaling formula?
The scaling formula applies a 1.0x base HP for solo play and adds roughly 15% HP per additional player in the raid, capped around 1.60x for five or more participants. Damage output scales at a lower rate (about 10% per extra player), and the shield-break threshold increases by one hit per added player, which is why raw damage is less important than coordinated stagger timing.
How long is the jump showdown boss respawn time after a wipe?
After a group wipe, the respawn window extends to 30–45 minutes depending on how many players left the server following the failure. Clean kills with 3+ players reset the timer to 15–20 minutes, while solo or duo clean kills land at 20–25 minutes because the server needs time to repopulate before the next world event is worth spawning.
Can I solo Chara in Jump Showdown?
Yes, but you need at least item level 150, the Echo Step teleport passive, and a clean execution of the Phase 1 skip route. The community's best solo clear sits at 4 minutes 12 seconds, and most first attempts take 8–10 minutes because the Phase 3 blood-knife tracking is brutal without a healer to clean the aggro debuff.
What are the best characters for a jump showdown multi player boss raid?
The strongest published comp is Unhinged Esper as tank, Unsealed Sorcerer as ranged burst, Saitama as melee cleanup, and Reigen as healer-support. This comp covers the shield-break window with poise, clears the Phase 2 reflect with sustained ranged damage, and keeps the tank alive through the enrage threshold, which is the standard four-stack used by the top Discord raid groups.
Where do I find the hidden boss arena in Jump Showdown?
The hidden arena sits in the outskirts of the city map, accessible by climbing the broken billboard chain on the eastern wall. According to the secret boss spawn video on YouTube, the cursed altar summoning circle is marked by a faint red glow on the ground, and the encounter only spawns after you've cleared Chara at least once on the same server, which gates the secret boss behind a lore progression step.