
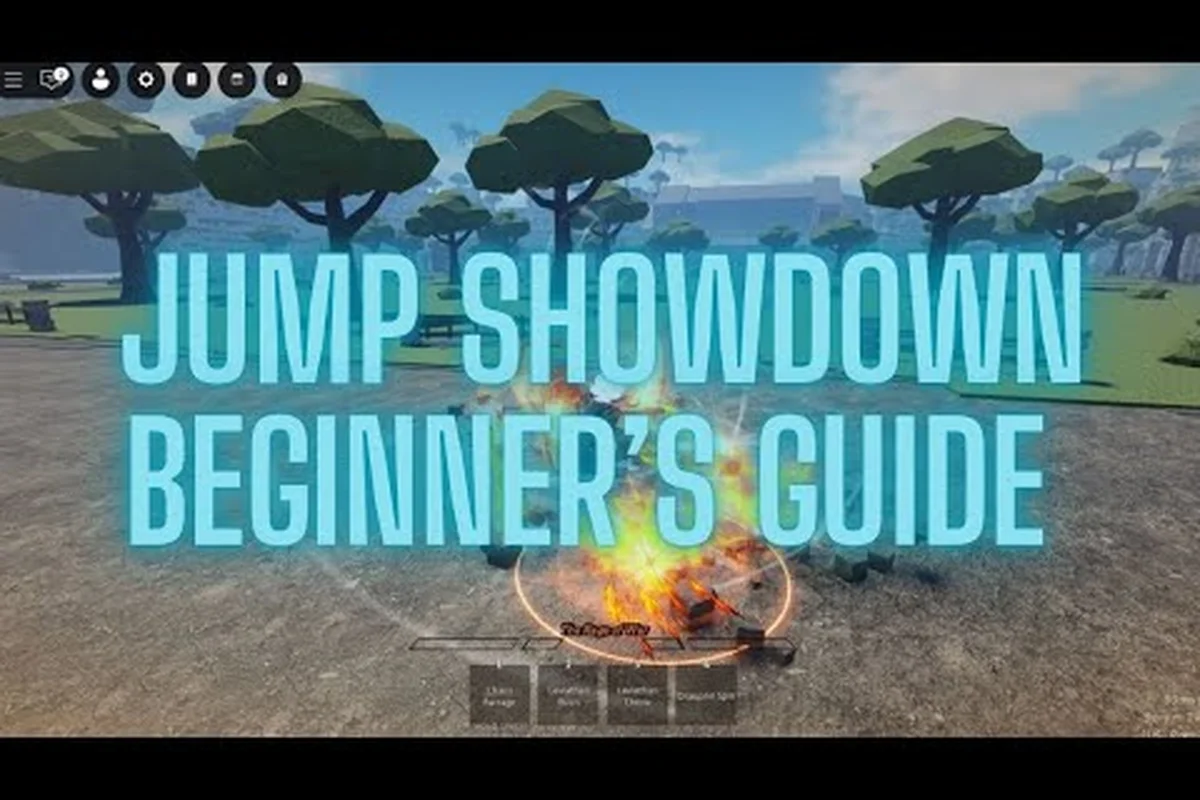
Getting bodied in a 16-player lobby usually traces back to one thing: a defense layer you can actually trust. This Jump Showdown defense guide breaks down the block, parry, dodge, and ragdoll tools that separate survivors from ragdoll puppets, and shows you how to chain them into punish windows that delete pressure.
Jump Showdown is an anime-styled arena fighter on Roblox where every neutral exchange is a math problem, and your block, parry, dash, and recovery options are the variables. According to the official Jump Showdown game page, the core combat loop revolves around 4-hit M1 strings, frame-tight F-parrying, Q-dash cancels, and ragdoll recovery windows, which is exactly the surface this guide maps out so you stop guessing and start counter-hitting.
Core Defense Tools in Jump Showdown
Before you tune muscle memory, you need a clean mental model of the four tools that actually define Jump Showdown defense: Block (F hold), Parry (F tap), Side Dash (Q), and Ragdoll Cancel. Each one answers a different opponent behavior, and most lost rounds come from picking the wrong tool for the situation.
| Tool | Input | Active Window | Best Against | Common Mistake |
|---|---|---|---|---|
| Block (hold) | Hold F | Until released | M1 pressure, ranged poke | Holding too long and eating a guard break |
| Parry (tap) | Tap F | ~6 frames on contact | Predictable M1 starters, single hits | Tapping into empty space, wasting the parry |
| Side Dash (Q) | Q + direction | Short i-frames, fast travel | AoE moves, linear specials, mixups | Dashing into follow-ups without retreat plan |
| Ragdoll Cancel | Input during ragdoll | 15-20 second cooldown | Combo extension, death setups | Burning the cancel early and getting hard-comboed |
The Block is the safest default, but it has hard limits. Chip damage still ticks, and the developer has tuned guard-break moves that bypass block entirely. The Parry is the highest reward of the four because it stops the opponent's chain dead and creates a 1.5-second punish window, but it punishes greed hard, so it sits behind prediction, not reaction. Side Dash through an incoming strike gives you invincibility frames and lets you reset spacing, and Ragdoll Cancel is the panic button that gets you off the ground before an opponent can extend a knockdown into a wall splat or downslam reset. If you want a deeper walkthrough of how M1s, dashing, and ragdoll interact, the Jump Showdown beginner guide covers the full input layer in detail.
When to Hold vs When to Tap F
The F key is doing two completely different jobs, and most players merge them in their head. Holding F is a reactive choice against multi-hit M1 strings and projectile spam, because you stay safe while you read the opponent's next move. Tapping F is a predictive choice, and the timing window is tight enough that you cannot react to a raw M1 in time. The parry window opens roughly 6 frames before the strike connects, which means you commit to the input based on the opponent's animation tell, not the hit itself.
In practice that translates to a simple read: hold F when the opponent is walking you down, tap F when you recognize a specific M1 starter or a slow special that has a clear windup. A held block on a guard break is a free hit, and a tapped parry into thin air is a 1.5-second stun on yourself, so the cost of guessing wrong is symmetric. Train both inputs against testing dummies before you trust either one in a ranked lobby.
Parry Timing and Punish Windows
Parry is where Jump Showdown defense stops being passive. A clean parry stops the incoming strike, applies a 1.5-second stun on the attacker, and lets you run your highest-damage starter. According to community data reported on the Jump Showdown Discord, a successful parry into a full M1 string plus a special dump deals anywhere from 40% to 65% depending on the character and the wall position, which makes the F-tap one of the highest-EPS actions in the entire game.
| Parry Outcome | Damage Ceiling | Follow-up Resource | Risk If Whiffed |
|---|---|---|---|
| Light punish (M1x2) | ~18-22% | Low stamina, safe spacing | Small punish window lost |
| Medium punish (M1x4 + skill 1) | ~40-50% | One skill on cooldown | Trade on extension |
| Heavy punish (M1x3 + dash cancel + downslam) | ~55-65% | Q dash, skill 2 | Reset chain on bad read |
| Wall-splat punish (full string) | ~70-80% | Wall corner, skill 1+2 | Mistimed splat drops the chain |
The parry's value compounds when you have the stamina and skill resources loaded, so a good defensive habit is to keep at least one special available before going for the F-tap. Whiffing the parry leaves you wide open for 1.5 seconds, which is more than enough for an opponent to land a true combo starter, so a parry attempt is also a commitment to your punish plan. If you want a frame-by-frame breakdown of the F-tap and the 1.5-second stun, the Jump Showdown parry timing guide maps the input window to the visual tells.
Reading the M1 Starter Tell
Every character in Jump Showdown has a slight lean or shoulder pull before the first M1 lands, and the lean direction matches the strike direction. The M1x1 animation has a roughly 12-frame startup before the hit connects, and the F-tap window opens around frame 6, which means you have to read the lean and not the hit. Practice on a stationary dummy first, then move to moving targets, and you will start to see the tells for the popular characters before they throw.
Side Dash as an I-Frame Dodge and Reset
The Q-dash is the cleanest way to escape pressure that block and parry cannot answer, especially against AoE moves, guard breaks, and unblockable mixups. The dash gives you a short invincibility window during the first few frames of travel, which lets you pass through an incoming strike and reset the neutral entirely. The trick is that the i-frames are not free, and every dash you burn is a dash you cannot use to extend your own offense.
| Dash Usage | I-Frame Coverage | Recovery Cost | Best Matchup |
|---|---|---|---|
| Through M1x1 | Full first hit | Negligible, dash recharges fast | Mashers who spam M1 |
| Through AoE | Full radius hit | Medium, leaves you airborne | Awakening ultimates, ground stomps |
| Through guard break | Full hit | High, momentum lost | Unblockable mixup layers |
| Forward dash on parry punish | None, positioning only | Negligible | M1 punish extension, downslam setup |
The cooldown on Q is short but not zero, and the Jump Showdown animation cancel system lets you chain a side dash straight out of the third M1 hit, which doubles as both a defense and an extension tool. Many community-tested players report that the M1x3 into side dash cancel is the single highest-value bread-and-butter in the game, because it resets your recovery frames and forces the opponent to make a new read or eat a wall splat. The key is to commit to the dash on a known recovery frame, not to spam Q hoping for a phantom.
Dash Canceling Out of Recovery
The M1x3 into Q cancel is the textbook jump showdown animation cancel because it converts the natural recovery of the third M1 into a reposition. If you do not cancel, the third M1 leaves you locked in roughly 14 frames of recovery where an opponent can parry or sidestep you. A timed Q on frame 6 of recovery drops that 14 frames to about 4, and you come out of the dash with enough momentum to start a side combo or close distance on a retreating opponent.
Combo Breaker Layer: Ragdoll Cancel and Cooldown Tracking
Every Jump Showdown round eventually ends with somebody on the floor, and the player who gets up first usually wins the exchange. The Ragdoll Cancel is the panic input that pulls you out of the knockdown before the opponent can extend into a wall splat or downslam, but it sits behind a 15 to 20-second cooldown that varies by character and patch. According to community data, a single missed cancel in a long combo can mean a 60%+ damage loop with no real exit point, which makes the cancel your most important cooldown to track.
| Cooldown | Default Timer | Best Used When | Worst Used When |
|---|---|---|---|
| Ragdoll Cancel | 15-20 seconds | After first knockdown, before wall splat | Burned early in a long neutral |
| Parry (F-tap) | Per-stun (no resource) | After you read M1 starter | Into empty space, on read loss |
| Side Dash (Q) | Short, build-dependent | Resetting after blocked M1x3 | Forward dash into incoming special |
| Skill 1-4 | 8-15 seconds each | Punish windows, combo extension | Random throws outside punish |
The whole point of jump showdown cooldown management is to never let your defensive tools go cold at the same time. If you burned the Ragdoll Cancel in the first 10 seconds of the round, you are now committed to playing pure neutral for the next 15 seconds, which means every parry miss and every blocked string has real cost. Conversely, the player who saves the cancel for a wall-splat read gets a free neutral reset and a punishing counter-attack window. Pair that save with a properly timed jump showdown reset timing on the M1 string, and you turn a defensive recovery into a real combo starter.
Reset Timing in the M1 String
The jump showdown reset timing that shows up most often in the lab is on the third M1, where you can either extend the string with a Q-cancel or hard commit to the fourth M1. The third M1 is a true combo on hit, but on block the opponent can parry the fourth M1 on reaction, which means extending is risky against opponents with good F-tap timing. A reset on M1x3 into side dash is the safer option against patient defenders because it forces a new 50/50 read every time you land the third hit.
| Reset Type | When to Use | Reward | Risk |
|---|---|---|---|
| M1x3 → Q cancel → M1x1 | Opponent parries on M1x4 | Fresh string, plus frame advantage | Reads late, gets parried |
| M1x3 → Q cancel → skill 1 | Opponent blocks after third | Big damage, no parry window | Skill on cooldown, no follow-up |
| M1x3 → Q cancel → grab | Opponent expects extension | Free mixup layer | Predictable, gets punished on read |
| M1x3 → Q cancel → back dash | Opponent is aggressive | Reset to neutral, save stamina | Lose pressure, give corner |
The jump showdown combo breaker layer lives on top of all of this. When the opponent lands a real string and you are stuck in hitstun, your only break is the jump showdown animation cancel inputs that lead into the Ragdoll Cancel, and the timing window is roughly 20 frames after the knockdown animation starts. Miss the window, and you eat the wall splat and the full follow-up. Hit the window, and you reverse the pressure immediately, which is the single most important defensive read in any ranked match.
Reading Damage Scaling on Defense
A common mistake is assuming every block is the same cost, but damage scaling rules confirm that the first three hits of any string scale at 100%, then drop to roughly 80% on the fourth and 65% on the fifth. Wall splats and downslam resets, however, bypass that scaling and land at full damage because they count as a new combo segment. The defensive takeaway is simple: do not burn the Ragdoll Cancel on early scaling because you can survive on chip, but save the cancel for the wall splat because that hit will hit hardest.
Training Routine and Matchup Habits
Defense is a habit, and habits come from drills. A short, repeatable training block on the testing dummy turns every concept in this guide into reflex, and it only takes 10 minutes per session if you structure it well. The goal is not to memorize frame data, it is to give your fingers a default input for every common threat.
| Drill | Duration | Goal | Success Metric |
|---|---|---|---|
| F-hold vs M1 spam | 2 minutes | Hold block under pressure | No hits land while F is held |
| F-tap on M1 starter | 3 minutes | Land parry on visual tell | 7 out of 10 parries land |
| Q-dash through AoE | 2 minutes | Pass through hitbox | Zero damage taken from AoE |
| M1x3 → Q cancel on hit | 3 minutes | Chain cancel cleanly | 10 cancels in a row with no recovery |
| Ragdoll Cancel timing | 2 minutes | Break out of knockdown | Cancel on first try, 5 in a row |
| Free play vs dummy | 3 minutes | Mix all tools under pressure | No repeated panic inputs |
Once the dummy drills feel automatic, take the same routine into a casual 16-player free-for-all lobby and pay attention to which opponents parry on reaction and which ones mash. Mashers reward dash resets and F-hold, because their offense is volume and you can answer volume with the right defensive read. Reactors reward the F-tap and the wall-splat punish, because their offense is single committed hits and you can answer commitment with timing. If you want a full combo route map for the M1x3 cancel into wall splat, the Jump Showdown Q dash combos guide shows the bread-and-butter strings for the popular characters.
Common Defensive Leaks
Three leaks show up in almost every ranked set, and they are all easy to fix once you see them. First, holding F through a guard break, which is a free hit for the opponent and a wasted defensive layer for you. Second, tapping F into empty space because the read was off, which is a 1.5-second stun and an instant combo starter for the opponent. Third, burning the Ragdoll Cancel on the first knockdown, which leaves you exposed for the next 15 to 20 seconds. Fixing all three is usually enough to climb out of early ranks into the mid-tier lobbies, where defense actually starts to matter.
| Leak | Cost Per Round | Fix |
|---|---|---|
| Holding F on guard break | 25-40% damage | Watch the opponent's guard break tell, dash on read |
| Tapping F on read loss | 30-50% damage | Commit to hold or commit to tap, never guess |
| Early Ragdoll Cancel | 60%+ combo | Save cancel for wall splat, not first hit |
| Q-dash into follow-up | 20-30% damage | Dash to reset, not to chase without plan |
| No stamina management | Slow death by chip | Reserve 1 bar for parry attempts |
Frequently Asked Questions
What is the best defensive option against a mash-heavy opponent in Jump Showdown?
Hold F through the M1 spam, then use a Q side dash the moment you see a recovery frame. Mashers commit to volume, so your defense should commit to patience plus a single reset dash. Save the F-tap for the moment they finally stop mashing, because that pause is the only real punish window.
How do I break out of a long combo as a defender?
The Ragdoll Cancel is the only real jump showdown combo breaker, and the input window opens about 20 frames after the knockdown animation starts. The cooldown is 15 to 20 seconds, so do not waste it on the first hit of a string. Save it for the wall-splat segment because that hit is what actually ends the round.
When should I use the F-tap parry instead of holding block?
Use the F-tap when you recognize a specific M1 starter tell or a slow special windup, never as a reaction to a raw hit. The parry window opens roughly 6 frames before the strike connects, so the read is on the animation, not the impact. If you do not recognize the tell, hold block and wait for a clearer read.
What is the safest way to use Q-dash on defense?
Dash through the incoming hit, not away from it, because the i-frames only cover the travel distance. The dash into the opponent also gives you a free reposition into punish range, which is a much better trade than dash-away. Always have a follow-up planned before you commit the dash, because the cooldown window matters.
How do I track my defensive cooldowns mid-fight?
Keep mental count of the Ragdoll Cancel timer first, because that is the longest and most punishing cooldown. The F-tap parry has no resource cost but the 1.5-second punish window is the real cost if you miss. The Q-dash is short and recharges fast, but chaining it costs stamina, so treat stamina as a fourth cooldown in your tracking.