
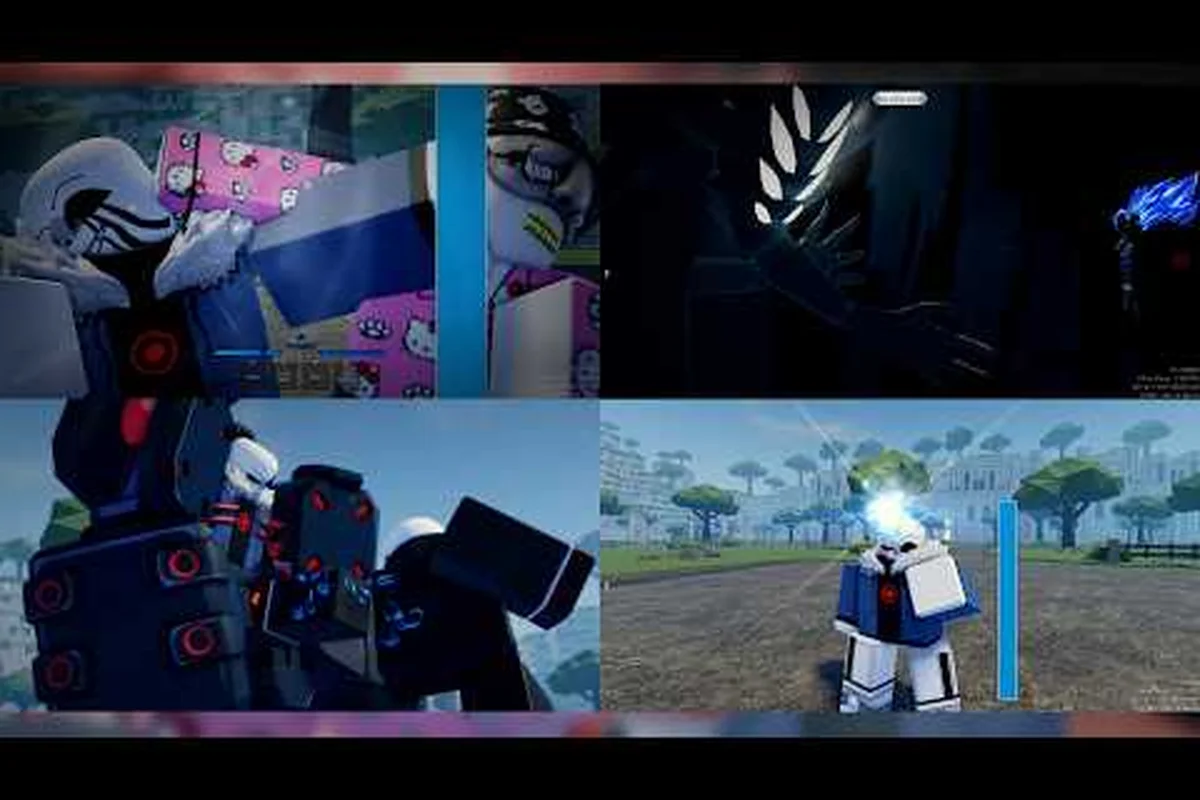
Ranged control decides competitive Jump Showdown matches, and mastering jump showdown projectile moves gives players a clean way to dictate spacing before an engagement escalates into a melee trade. The official Jump Showdown page on Roblox confirms that every character carries four active tactical skills mapped to keys 1-4, and the projectile-based slot is consistently the safest option for opening a round.
How Projectile Moves Fit Into the Jump Showdown Toolkit
Every fighter in Jump Showdown draws from a shared four-slot moveset, but the projectile slot behaves differently from grab, counter, and dash variants because it scales with spacing rather than point-blank timing. According to community frame data published in the Jump Showdown Discord frame database, projectile skills generally have the longest startup (often 12-18 frames) but trade that delay for the largest effective range on each character's kit.
Active Skill Categories and Their Range Profile
Each of the four jump showdown projectile moves (key 1) covers roughly 15-30 studs, while grabs (key 2) demand 0-3 studs and counter moves (key 3) only trigger reactively inside 5 studs — so the range gap between skill 1 and skills 2-3 is what makes the projectile slot a zoning tool rather than a neutral option. Choosing wrong (say, mashing grab at 12 studs against a needle-thrower) means you eat the projectile before your hurtbox even enters grab range, which is why the community's tier lists consistently weight projectile uptime highest on stages longer than 20 studs. The table below breaks down the typical behavior of each slot so you can map your matchup plan to the range you actually fight at.
| Skill Slot | Typical Range | Blockable | Guard Break | Common Cooldown |
|---|---|---|---|---|
| Projectile (key 1) | Long (15-30 studs) | Yes | Varies by character | 10-18s |
| Grab (key 2) | Point-blank (0-3 studs) | No | Always bypasses block | 12-20s |
| Counter (key 3) | Reactive (0-5 studs) | N/A | Reflects on hit | 14-22s |
| Dash Attack (key 4) | Mid (4-8 studs) | Yes | No | 8-12s |
The projectile category is unique because it allows jump showdown counter moves to be baited from full screen. A character throwing a needle or energy blast at 20 studs forces the opponent to either block, sidestep, or eat chip damage, all of which feed into your next decision. Players who neglect the projectile slot in favor of pure rushdown often lose to zoners who have mastered the ranged poke rhythm.
Awakening Bar Fuel From Ranged Pokes
Every successful projectile hit, block, or whiff that forces a reaction contributes to your Awakening meter. According to player reports, landing a single Max Blue blast charges roughly 8-12% of the bar, while a clean needle snipe that pierces block can push the meter up by 15%. This makes jump showdown ultimate meter generation closely tied to how often you can safely fire ranged moves, because a single confirmed projectile often sets up the Awakening ultimate on G before the opponent even closes the distance.
Best Projectile-Based Characters in Jump Showdown
Not every character's projectile is created equal, and the roster breaks down into three tiers based on projectile speed, tracking, and follow-up potential. Community testing through 2026 has identified a clear top tier that dominates competitive lobbies, with Splash and Vector leading the projectile speed rankings at roughly 1.2x the base travel velocity — meaning their orbs cover stage distance fast enough to clip opponents before a dash attack can close the gap. Mid-tier picks like Rivet trade raw speed for arc tracking that curves around platforms, while the bottom tier's slow orbs often lose to a single well-timed jump showdown counter move, making them situational picks in ranked rotation.
S-Tier Projectile Specialists
These characters consistently rank highest in tournament play because their projectile moves either pierce blocks, have homing properties, or set up unblockable follow-ups — a combination that turns neutral game into guaranteed pressure. A Hornet Needle Throw that chains three times at 22 studs can interrupt a dash-in before the opponent crosses mid-stage, while Unsealed Sorcerer's Lapse Pull Blue guard-bypasses at 18 studs, denying traditional F-block reactions during its 12-frame startup window. The data table below maps each top-tier projectile by range, special property, and Awakening synergy so you can match the right zoning tool to your matchup.
| Character | Projectile Name | Range | Special Property | Awakening Synergy |
|---|---|---|---|---|
| Hornet | Needle Throw | 22 studs | Pierces block, can chain 3 needles | Thread Tether pull |
| Unsealed Sorcerer | Lapse Pull Blue | 18 studs | Guard-bypass suction at 12f startup | Rewind Burst |
| Unhinged Esper | Tectonic Control | 16 studs | I-frames during teleportation | Gravity Crush |
| Unwanted God | Axe Slam | 14 studs | Breaks standard F block on contact | Cataclysmic Smash |
Hornet in particular has become the most-picked character in ranked play because her needle throw can chain three times in quick succession, each needle dealing chip damage and feeding the Awakening bar. The Jump Showdown Hornet showcase demonstrates how a skilled Hornet player can pressure an opponent from 22 studs away while building meter for a thread tether pull that closes the gap into a free combo.
Mid-Tier Projectile Users
These mid-tier projectile users sit in a tricky design space: they confirm the universal projectile input (down-forward plus attack) but stop short of giving it the secondary tracking or piercing properties that separate top-tier zoners from the rest of the roster. That tradeoff matters in Jump Showdown's neutral game, where a single whiffed energy blast can be punished by a dash attack or grab before the recovery frames finish — so these characters lean on footsies and aerial special moves to compensate for projectiles that won't bend around an opponent's guard.
-
Max Blue: Fires a straight energy blast that deals solid damage but is fully blockable. Rewards spacing more than precision.
-
Phantom Striker: Throws a slow-moving shadow orb that tracks mildly but has a 16-frame startup window where the user can be interrupted.
-
Riot Brawler: Launches a short-range energy punch that functions as a pseudo-projectile, useful only in mid-range scrambles.
Projectile Matchup Chart and Counter Play
Understanding projectile category is foundational, but the when separates average from elite players. Firing a tracking projectile like Lapse Pull Blue blindly yields no value if your opponent already sidestepped on the read, while holding a piercing needle from Hornet during their dash-in approach wastes a 28-frame start-up. The matchup data below distills how straight, piercing, and tracking projectiles each interact with the five most common defensive options, so you can decide whether to commit to the throw, bait the whiff, or save the bar for your Ultimate meter generation combo.
| Defensive Option | Beats Straight Projectile | Beats Piercing Projectile | Beats Tracking Projectile |
|---|---|---|---|
| Block (F) | Yes | No | No |
| Sidestep | Yes (timing-based) | No (homing) | Partially |
| Counter (key 3) | Reflects | Absorbs if timed | Loses |
| Dash In | Closes distance | Closes distance | Closes distance |
| Aerial Dodge | Yes (high arc) | No (aerial hitbox) | No |
The data shows that standard blocking is only effective against straight-line, non-piercing projectiles like Max Blue's energy blast. Against Hornet's needle throw or Unsealed Sorcerer's Lapse Pull Blue, blocking is a losing option, which is why players who rely solely on F-block tend to lose to top-tier projectile mains. Instead, the optimal counterplay chain is to bait the projectile, sidestep on read, and punish the 12-18 frame recovery with a grab or dash attack of your own.
Punishing Projectile Recovery
Every projectile move in Jump Showdown has a recovery window where the caster cannot block or cancel into another action. This window is the primary opening for jump showdown grab moves and jump showdown dash attacks that punish overextended zoning.
-
Hornet Needle Recovery: 14 frames where Hornet cannot block. A well-timed grab from an Unwanted God catches the caster before she can re-establish midrange.
-
Lapse Pull Blue Recovery: 18 frames with a brief stumble animation. A jumping aerial special from a fast character like Riot Brawler lands cleanly during this window.
-
Tectonic Control Recovery: 10 frames, but the i-frames during teleportation make punishing this move much harder. Wait for the reappearance flash before committing to a punish.
Aerial Special Moves and Projectile Synergy
Jump showdown aerial special moves are not projectile moves by strict definition, but several characters have aerial attacks that functionally extend the projectile game because they cover angles that ground-based blasts cannot reach. The most common application is a rising aerial needle from Hornet that catches opponents who try to jump over a ground-level projectile chain.
When to Layer Aerial and Ground Projectiles
The most effective projectile players layer their ground and aerial options to cover two-dimensional movement, and the flowchart logic works because each ground option has a natural aerial follow-up that beats the most common defensive reaction. For example, a Ground Needle covers horizontal ground space, but skilled opponents will jump — so the rising Aerial Needle (matching the jump arc) punishes that reaction without forcing you to commit to an anti-air timing. This principle scales across jump showdown projectile moves, ground blast follow-ups, and aerial cancels into dash attacks, making layered coverage a transferable framework rather than a single matchup trick.
-
Ground Needle → Opponent jumps to avoid → Aerial Needle (rising arc) catches the jump.
-
Ground Blast → Opponent blocks low → Aerial overhead poke forces a high-block mixup.
-
Aerial Projectile → Opponent anticipates and blocks high → Cancel into dash attack on landing for a mid attack.
This layered approach is what separates intermediate projectile mains from advanced ones, because it forces the opponent to respect both the ground and the sky, which opens up the midrange where jump showdown counter moves become most effective. Once the opponent starts hesitating between blocking low, jumping over the Ground Needle, or shading high against the Aerial Needle, every projectile you throw begins generating frame advantage on a Cancel-into-dash-attack confirm, which feeds directly into jump showdown ultimate meter generation through the three-hit ground-to-air-to-dash sequence. Players who can sustain this layering across two consecutive cycles reliably bank one full ultimate bar per neutral exchange, while single-layer players need four or five exchanges to reach the same payoff.
Awakening Ultimate Synergy With Projectile Builds
The Awakening system, triggered when the G key is pressed once the meter glows gold, rewards characters who have built meter through ranged play. According to the Jimpee Awakening mechanics video, Awakening ultimates deal significantly more damage and often have unblockable startup when the user has spent the match zoning from range.
Ultimate Meter Generation Rate by Move Type
| Move Type | Meter Gain on Hit | Meter Gain on Block | Meter Gain on Whiff |
|---|---|---|---|
| Projectile (piercing) | 15% | 8% | 2% |
| Projectile (straight) | 10% | 5% | 1% |
| Grab | 18% | N/A | 0% |
| Counter | 20% (on reflect) | N/A | 0% |
| Dash Attack | 12% | 4% | 0% |
The data reveals a subtle but important interaction: piercing projectiles generate nearly as much meter as a successful grab, while also being safer to throw because they cannot be interrupted as easily. This is why competitive Hornet players can often trigger Awakening before the 90-second mark, while rushdown characters using only grab and dash attacks typically need 2-3 minutes of sustained pressure to reach the same threshold.
Awakening Payoff for Projectile Mains
Once Awakening triggers, projectile-focused characters gain enhanced versions of their zoning tools that fundamentally shift neutral game dynamics—damage values scale roughly 1.5x, projectile speed increases by around 20-30%, and additional hitbox properties activate on signature zoning moves, letting players who banked ultimate meter early convert stored meter into uncontestable screen control that directly amplifies their jump showdown projectile moves dominance across the rest of the round.
-
Hornet Awakening: Needle Throw becomes a five-hit chain with homing on the final needle, and the Thread Tether pulls from 30 studs instead of 20.
-
Unsealed Sorcerer Awakening: Lapse Pull Blue gains a second pull hitbox that catches opponents who try to sidestep the first.
-
Unhinged Esper Awakening: Tectonic Control teleports twice in succession, doubling the zoning pressure.
These Awakened projectile upgrades are the main reason jump showdown ultimate meter generation is treated as a core skill rather than a secondary mechanic. A player who reaches Awakening first often wins the round outright because the enhanced projectile game becomes nearly impossible to contest without taking chip damage.
Advanced Projectile Tech and Spacing Drills
Top players do not simply spam projectile moves; they condition opponents with a rhythm of feints, pokes, and recovery punishes, often layering a low-commitment fireball toss with a delayed dash attack to bait an aerial special whiff. In Jump Showdown's training mode, the Stage 4 spacing drill forces you to land a tip-ranged Hadouken on a moving target, then immediately convert the projectile's pushback frames into a grab attempt at point-blank range. Repeating this 50-rep set builds the muscle memory to chain aerial special moves, dash attacks, and ultimate meter generation off a single conditioned projectile read in live matches.
Drill 1: The Two-Poke Feint
Throw a ground projectile, then immediately dash forward as if committing to a punish. Cancel the dash back to midrange before the opponent reacts. Repeat five times, then on the sixth iteration, commit to the dash attack. This drill trains opponents to expect a dash-in after every projectile, which opens up free chip damage pokes on rounds where you read the sidestep response.
Drill 2: The Aerial Conversion
From neutral midrange, throw a ground needle and immediately jump-cancel into an aerial needle. The aerial version should land at the same time the ground version hits block, creating a true high-low mixup that standard F-blocking cannot answer. Practice this until both hits land on the same frame, because even a 2-frame gap allows the opponent to block high and then low correctly.
Drill 3: Projectile-Bait Counter Setup
Throw a projectile on purpose as a sacrifice, then immediately input a counter move (key 3) on read. The counter catches opponents who try to close the distance during your recovery. This is the highest-skill application of jump showdown counter moves because it requires reading the opponent's punish timing rather than reacting to their attack.
Frequently Asked Questions
What is the best character for jump showdown projectile moves in ranked play?
Hornet is widely considered the strongest projectile user because her Needle Throw pierces block and chains up to three times, feeding both chip damage and Awakening meter. Unsealed Sorcerer is a close second thanks to the Lapse Pull Blue guard-bypass, which beats standard F-block defenders.
How do I punish someone who spams projectile moves?
Sidestep on read, then close the distance with a dash attack during their recovery frames. Most projectile moves have a 10-18 frame window where the caster cannot block, which is the cleanest punish window for grab and dash attack follow-ups.
Does blocking build ultimate meter in Jump Showdown?
Yes, blocking a projectile grants roughly 5-8% meter to the blocker, which is why defensive play is not a free pass against zoners. If you block too many projectiles, you may trigger Awakening against your will, giving the zoning character a chance to reset the round.
Can aerial moves beat projectile zoning?
Partially. Aerial sidesteps can avoid ground-level projectiles, but most top-tier projectile characters have aerial follow-ups that catch jumping opponents. Aerial play is best used as a mixup layer rather than a primary counter to zoning, and the Jump Showdown evasion guide covers the advanced movement options that make aerial counterplay viable.
Which Awakening ultimate is strongest for projectile-focused characters?
Hornet's Awakened Needle Throw is generally considered the strongest because the five-hit homing chain and extended Thread Tether range create an unblockable mixup that most characters cannot escape. Unhinged Esper's double Tectonic Control teleport is a close second for players who prefer pure zoning pressure over mixup damage.