
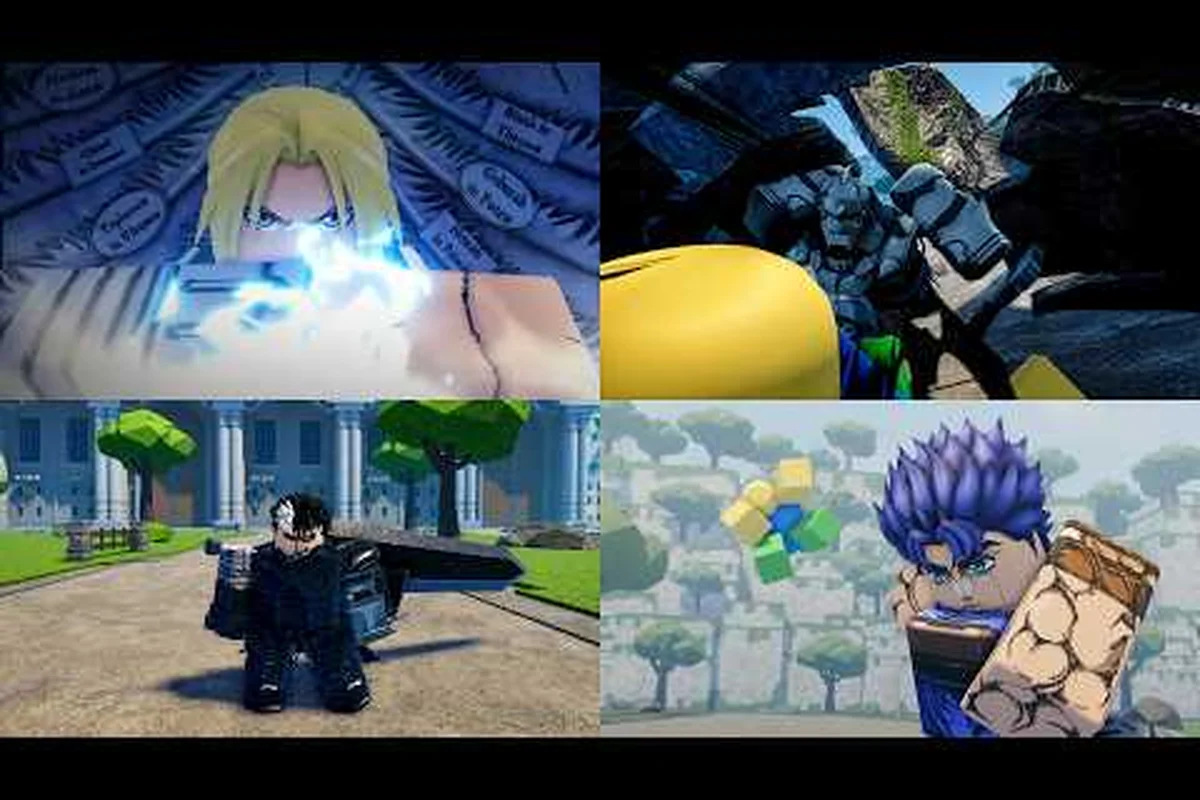
A complete Jump Showdown moveset breakdown starts with four active skills mapped to keys 1 through 4, a passive trait baked into the character, and an Awakening ultimate on the G key that can flip a lost round. According to the official Jump Showdown game page, cooldowns across the active kit range from roughly 8 to 25 seconds, and every ability carries a guard-break flag, a blockable status, and a super-armor startup window you can exploit or respect depending on which side of the match you are on. This guide walks through every layer of Jump Showdown all movesets so you can read a fight before it starts.
Understanding the Moveset Architecture in Jump Showdown
Every fighter in Jump Showdown ships with the same five-slot architecture: four mapped active skills (keys 1, 2, 3, 4), one passive trait, and the Awakening transformation bound to the G key. What changes between characters is the data inside each slot — cooldowns, hitbox shapes, blockable status, and whether the move carries a guard-break flag. The Jump Showdown moveset breakdown only becomes useful once you accept that the slots are identical, but the math inside them is wildly different.
| Slot | Input | Type | Typical Cooldown | Notes |
|---|---|---|---|---|
| Skill 1 | Key 1 | Poke / starter | 8–12 sec | Fastest, lowest damage, safest neutral tool |
| Skill 2 | Key 2 | Combo extender | 12–16 sec | Mid-tier commitment, wall-splat potential |
| Skill 3 | Key 3 | Mobility / utility | 14–18 sec | I-frames, dashes, or projectile zoning |
| Skill 4 | Key 4 | Heavy / cinematic | 20–25 sec | Longest cooldown, often guard-break flagged |
| Awakening | G key | Transformation | Meter-gated | Unlocks after Awakening bar glows gold |
When you press 1, the engine checks blockable status before resolving damage. A blockable move respects an opponent's F-block; a guard-break move ignores it. A move with super-armor startup absorbs the first incoming hit, which means trading into a guarded opponent with a 1-slot poke is rarely worth it.
How Frame Data Reads in Practice
Frame data in Jump Showdown is measured from input to first active hitbox. Skills with a 12-frame startup, like the Unsealed Sorcerer's Lapse Pull, land before most 1-slot pokes can interrupt them. Skills with a 22-frame startup, like the Unhinged Esper's Tectonic Control, give reactive players a window to dodge on read. According to community testing posted on the Jump Showdown Discord, the difference between a 12-frame and 22-frame startup is roughly a third of a second — enough to define whether a matchup is punishable or safe.
Passive Traits and the Invisible Layer
Passive traits do not show up on the cooldown bar, but they shape every other decision. Some passives grant meter on hit, others reduce incoming damage during a specific window, and a few modify Awakening duration. The Jump Showdown moveset breakdown treats passives as the multiplier on your active kit — a character with a 15-second Awakening duration passive effectively gets more value from every G-key press than one with a 10-second window.
Awakening Mechanics and G Key Transformations
The Awakening system is the single biggest power spike in Jump Showdown ultimate abilities. Your meter charges by dealing and receiving damage, and once the bar glows gold, the G key becomes available. Pressing G triggers a cinematic transformation, modifies your M1 chain, and replaces each of your four skills with an upgraded version. According to Jimpee's official channel, the Awakening window is long enough to chain one full rotation of upgraded skills plus a finishing ultimate.
| Awakening Phase | Trigger | Effect on M1 | Effect on Skills 1–4 | Duration |
|---|---|---|---|---|
| Pre-Awakening | Meter < 50% | Base damage | Base cooldowns | — |
| Charging | Meter 50–99% | Slight visual cue | No change | Variable |
| Awakening Ready | Meter 100%, gold glow | Unchanged | Unchanged | Until G pressed |
| Active Awakening | G pressed | Enhanced chain, +damage | Upgraded hitboxes, shorter CDs | 15–20 sec |
| Post-Awakening | Timer expires | Returns to base | Base cooldowns resume | — |
Why Awakening Wins Rounds
A 1v1 round in Jump Showdown often comes down to who presses G at the right time. If you activate Awakening while your opponent is mid-cooldown on their Skill 4, you can land a full upgraded rotation before they recover. If you activate while they are awake and pressuring you, the cinematic startup can be interrupted — which is why the G key should be treated as a punish tool, not a panic button. Players in the community describe G-key Awakening timing as the single largest skill gap between intermediate and advanced players.
Awakening Meter Generation
Meter fills fastest on hit, slower on block, and slowest while you are strafing without committing. Skills flagged with ultimate meter generation — typically the long-cooldown Skill 4 — give a larger chunk of meter per use than the fast Skill 1 pokes. If you are running low on meter and need to reach Awakening before the round ends, fishing for a Skill 4 trade is usually faster than spamming Skill 1.
Comparing Active Skills Across the Roster
A practical Jump Showdown all movesets comparison requires grouping fighters by how their Skill 1 through Skill 4 behave in neutral, on block, and on whiff. Below is a community-sourced snapshot of four commonly picked characters, organized by the role each skill plays.
| Character | Skill 1 Role | Skill 2 Role | Skill 3 Role | Skill 4 Role | Awakening Hook |
|---|---|---|---|---|---|
| Hornet | Needle poke (fast) | Thread tether pull | Aerial dive | Thread storm | Movement-heavy Awakening |
| Unsealed Sorcerer | Lapse Pull (blue) | Arc projectile | Guard-bypass grab | Big bang AoE | Caster Awakening with i-frames |
| Unhinged Esper | Tectonic Control | Mind spike | Teleport dash | Psychic crush | Invincible Awakening teleport |
| Unwanted God | Axe chop | Stomp | Leap | Axe Slam (guard-break) | Brutality Awakening ultimate |
The Hornet's Skill 1 needle throw pierces standard blocks, which is why Hornet is strong in the Jump Showdown projectile moves archetype. The Unsealed Sorcerer's Lapse Pull blue version carries a 12-frame startup and a guard-bypass suction, making it the textbook example of how a single skill can define a character's matchup spread. The Unwanted God's Axe Slam breaks ordinary F-blocks on contact, which is the cleanest illustration of a guard-break flag in the game.
Reading Blockable vs Guard-Break
The fastest way to misread a moveset is to assume every skill respects block. A blockable skill is one where pressing F stops the damage and the chip damage is negligible. A guard-break skill ignores F and connects regardless. If you see the Skill 4 animation begin and you do not have a dodge ready, blocking is a coin flip — half the roster's Skill 4 is guard-break, the other half is blockable. Memorizing which characters carry which flag is a top priority for any jump showdown moveset breakdown.
Whiff Punishment Windows
Every skill in Jump Showdown has a whiff recovery — the frames after the animation ends where the attacker cannot block or input another skill. Skills with long startup (22+ frames) tend to have the longest whiff recovery, which is why the Unsealed Sorcerer's Tectonic Control can be punished by a fast M1 chain if you dodge on read. Players who track whiff recovery in their head turn every missed Skill 4 into a free combo starter.
Awakening-Focused Combos and Matchup Theory
A jump showdown moveset breakdown is incomplete without addressing how Awakening interacts with the broader combo system. The Jump Showdown ground bounce combos framework assumes Awakening is online; outside Awakening, the same routes often require a starter from Skill 1 or 2 instead of an upgraded Skill 4.
| Combo Stage | Pre-Awakening Starter | Awakening Starter | Notes |
|---|---|---|---|
| Open | Skill 1 poke | Upgraded Skill 1 | Pokes into M1 chain |
| Wall Splat | Skill 2 into wall | Upgraded Skill 2 | Triggers ground bounce |
| Extension | Skill 3 cancel | Upgraded Skill 3 | Maintains combo timer |
| Finisher | Skill 4 cinematic | Upgraded Skill 4 | Ends round or sets up reset |
Matchup Spread by Awakening Type
Not every Awakening is equal in 1v1. Movement-heavy Awakenings (Hornet) excel in neutral because they let you reposition freely. Caster Awakenings (Unsealed Sorcerer) excel in extended trades because their i-frames absorb incoming pressure. Brutality Awakenings (Unwanted God) excel in round-finish scenarios because their upgraded Skill 4 has the highest single-hit damage in the game. Picking a character whose Awakening matches the round state is the difference between pressing G and wasting G.
Lapse Pull Blue and the Ruthless Beatdown
Two specific named interactions come up often in the community. The jump showdown lapse pull blue refers to the upgraded version of the Unsealed Sorcerer's Skill 1, which gains extended pull range, a vacuum effect, and partial super-armor during the windup. The jump showdown ruthless beatdown refers to the Unwanted God's Awakening rotation — Axe Slam into Brutal Strike into a cinematic finisher that deletes most of the opponent's health bar in one Awakening window. Both are flagship examples of how Awakening transforms an already-strong skill into a round-deciding tool.
Building a Practical Jump Showdown Moveset Breakdown Plan
A study-only jump showdown moveset breakdown is fine for theory, but application requires a repeatable drill plan. The community generally recommends three stages: passive recognition, active rotation, and Awakening timing. Players who grind all three tend to climb ranked faster than players who only grind Awakening timing.
| Stage | Focus | Drill | Target Outcome |
|---|---|---|---|
| 1. Passive Recognition | Identify passives in 1v1 | 10 rounds per matchup, no Awakening | Read passive triggers by round 3 |
| 2. Active Rotation | Cooldown tracking | 10 rounds per character, no Awakening | Land Skill 4 on cooldown consistently |
| 3. Awakening Timing | G-key punish windows | 10 rounds with Awakening only | Land Awakening during opponent Skill 4 cooldown |
Drilling the Custom Moveset Sandbox
The custom moveset sandbox lets you swap which skills occupy slots 1 through 4, which is essential for testing matchup-specific builds. A typical session involves picking your main character, then dragging a known guard-break (like Unwanted God's Axe Slam) into Skill 4, and a fast poke into Skill 1. The custom moveset updates guide covers which workshop moveset codes are currently active and how to save your custom loadout between sessions.
Movement and Evasion Layer
Movesets do not exist in isolation — they interact with the evasion system. The Jump Showdown evasion guide explains how Awakening duration and i-frames stack with movement tools. If you are running a caster Awakening with i-frames, your Skill 3 dash is less critical than if you are running a brutality Awakening with no built-in escape. Layering the moveset breakdown with the evasion framework gives you a complete read on every character in the roster.
Reading Opponents and Adapting Mid-Match
The hardest part of any jump showdown moveset breakdown is applying it under pressure when an opponent is not behaving like the training dummy. The community has settled on a three-cue adaptation model: animation tell, cooldown read, and Awakening bar color.
| Cue | What to Watch | Response |
|---|---|---|
| Animation tell | Shoulder, arm, or weapon windup | Dodge on read, or block if guard-break is unlikely |
| Cooldown read | Skill icon greyed out | Punish with M1 chain into Skill 2 |
| Awakening bar color | Yellow at 50%, gold at 100% | Hold G if behind, press G if ahead |
Punishing Common Patterns
Most players fall into patterns after three rounds. If your opponent opens with Skill 1 every time, block the first and punish with your own Skill 2. If they always save Skill 4 for Awakening, hold your dodge for the gold bar flash and sidestep on read. Adapting mid-match is less about raw reaction time and more about pattern recognition — once you have cataloged the opponent's first three rounds, the fourth is largely scripted.
When to Reset the Round
A round reset — taking a deliberate hit to escape Awakening pressure — is a high-skill tool. If your opponent has Awakening active and you do not, eating their Skill 1 to reset neutral is often better than blocking chip damage through their full rotation. Players who never reset lose to any character with a 15-second Awakening duration; players who reset on read turn those Awakenings into whiff punishment windows.
Frequently Asked Questions
What does the G key do in Jump Showdown?
The G key triggers Awakening once the meter bar glows gold. According to community testing, pressing G initiates a cinematic transformation, enhances your M1 chain, and replaces your four active skills with upgraded versions for roughly 15 to 20 seconds. You can only press G once per round, and the timing determines whether you win or lose the exchange.
Which character has the strongest Awakening?
There is no single strongest Awakening, but the Unwanted God's brutality Awakening delivers the highest single-hit damage through its upgraded Skill 4 finisher, while the Unsealed Sorcerer's caster Awakening has the longest i-frame window. Players who prefer raw burst favor Unwanted God, while players who prefer extended trades favor Unsealed Sorcerer.
How long do cooldowns last in Jump Showdown?
Active skill cooldowns range from 8 to 25 seconds depending on the slot and the character. Skill 1 typically sits at 8 to 12 seconds, Skill 2 at 12 to 16 seconds, Skill 3 at 14 to 18 seconds, and Skill 4 at 20 to 25 seconds. Awakening runs on a meter gate rather than a fixed cooldown.
Can I customize my moveset slots?
Yes, the custom moveset sandbox lets you reassign which skills occupy slots 1 through 4, save your loadout, and share it via workshop moveset codes. This is the recommended way to test matchup-specific builds before committing to them in ranked play.
What is the Lapse Pull Blue in Jump Showdown?
The Lapse Pull Blue is the upgraded version of the Unsealed Sorcerer's Skill 1, unlocked during Awakening. It gains extended pull range, a vacuum effect that draws opponents toward you, and partial super-armor during the windup, making it one of the strongest neutral tools in the game once Awakening is active.